


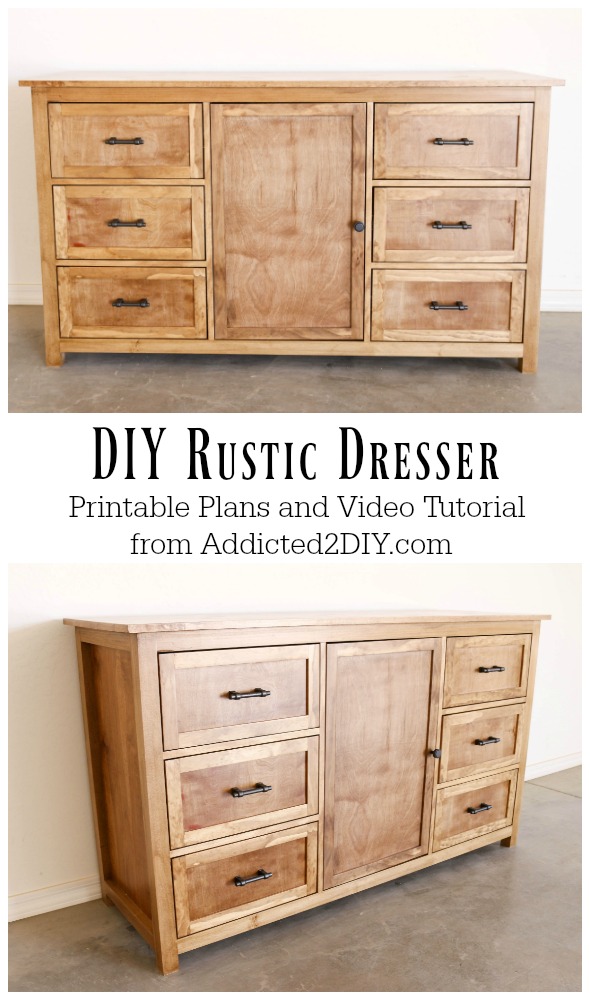
Hey there, everyone! Today, I’m partnering with Rockler Woodworking and Hardware to bring you the plans AND video on how to build this gorgeous DIY rustic dresser! This is one of those projects that has been a long time coming. I built it for my youngest son who desperately needed a new dresser for his room. The problem was that I just couldn’t commit to a design that I loved and that would work for the rest of the plans I have for his bedroom. Well, I finally made a decision on what would work best for him and I’m finally sharing the full plans and tutorial with you guys! I’ve included affiliate links to some of the products that I used. Should you purchase one of these products, I will receive a small commission at no extra cost to you.
Be sure to click the video below to watch the full build and get some valuable pointers on the build process. Also, be sure to download the free printable PDF plans for this build. There you will find the full materials and cut list to assist you with this project.
Let’s get started!

I designed the plans using 2×2 select pine, which you can purchase from any home improvement store; however, I decided to experiment with poplar for the first time. I bought a huge 8/4 board months ago and ripped it down on my table saw to true 2×2 sticks.
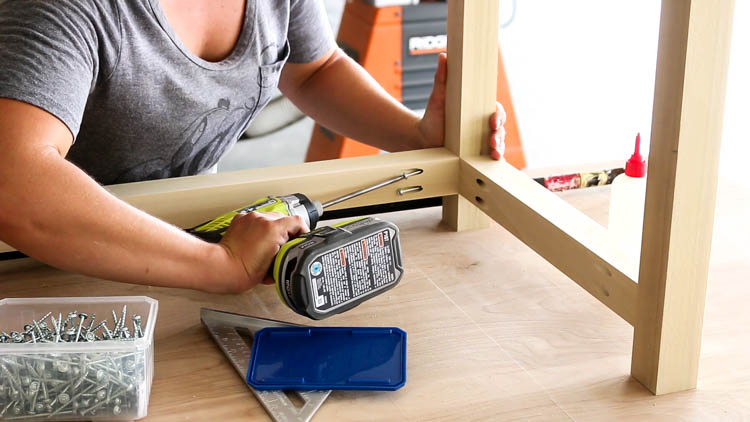
Once all of my 2×2 frame pieces were cut, I drilled 1 1/2″ pocket holes and assembled the frame with wood glue and 2 1/2″ pocket screws.
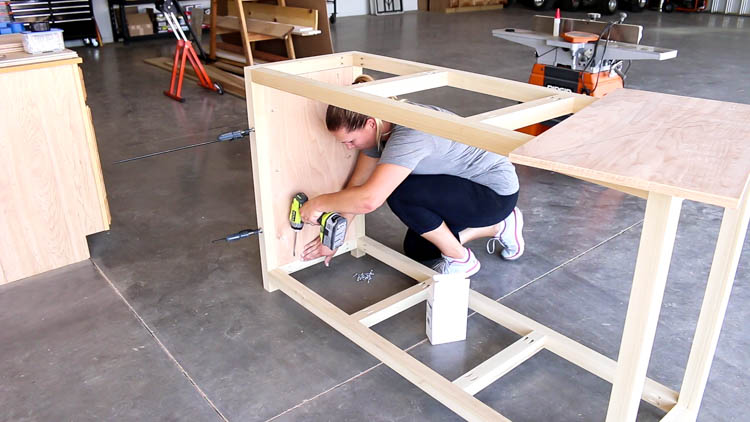
I used 3/4″ plywood for the side panels and attached them flush with the inside edge of the dresser legs. I used 1 1/4″ pocket screws and wood glue to secure them in place. I also added 2×2 stretchers to the center portion of the frame for added strength and a place for the walls of the center cabinet to attach to.
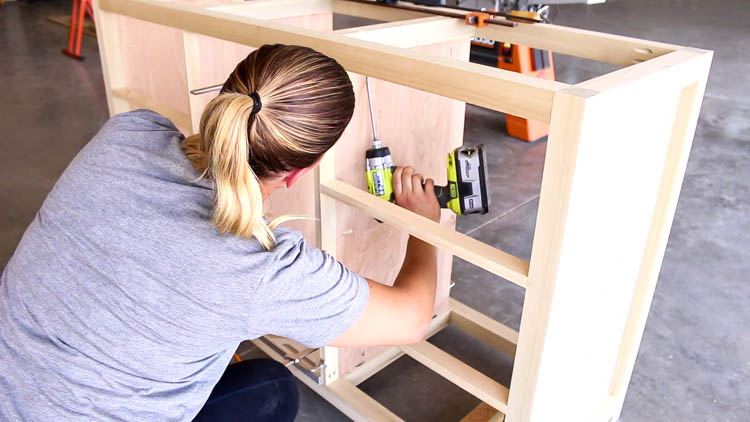
I used 1×2 select pine to build the face frame of the cabinet. The vertical pieces are spaced 18 1/2″ apart. I cut scrap wood blocking at 9 1/4″ to evenly space the horizontal frame pieces and attached them with 1 1/4″ pocket screws. Once the face frame was installed, I added the cabinet walls, attaching them with 1 1/4″ pocket screws.
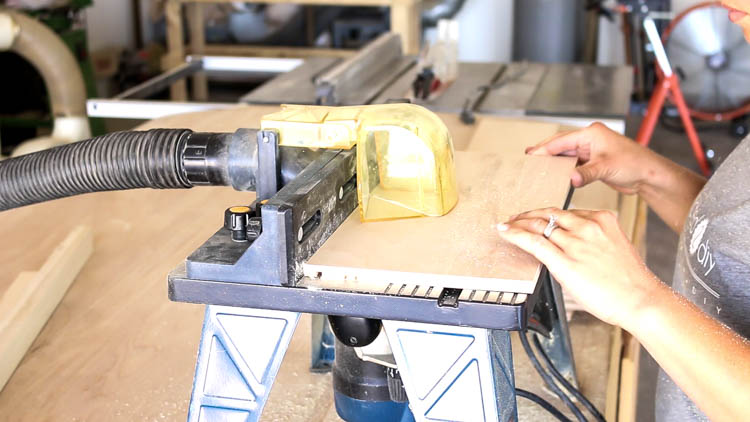
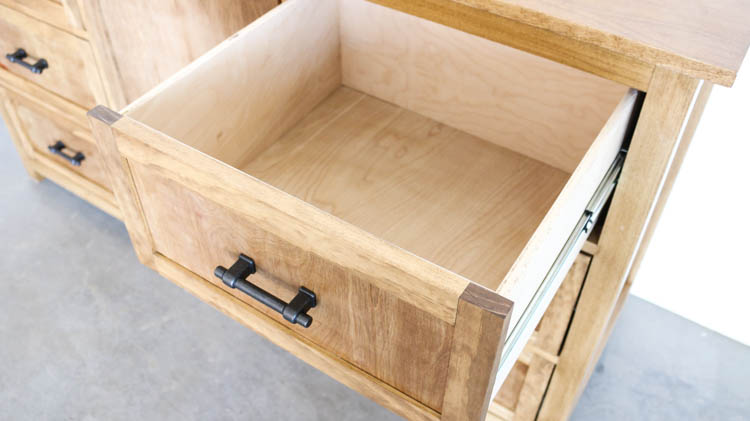
Once the dresser was assembled, it was time to build the drawers. I ripped down 8″ wide strips of 1/2″ plywood and cut them to size. I used my router to add dado grooves to the drawer sides to accept the 1/4″ plywood bottom. The true thickness of plywood does equal the thickness advertised, so Rockler sells undersized router bits that help to ensure a tighter fit for dado joints. For this, I used the 15/64″ straight bit.
I also drilled 1/2″ pocket holes into the 16 1/2″ drawer pieces.
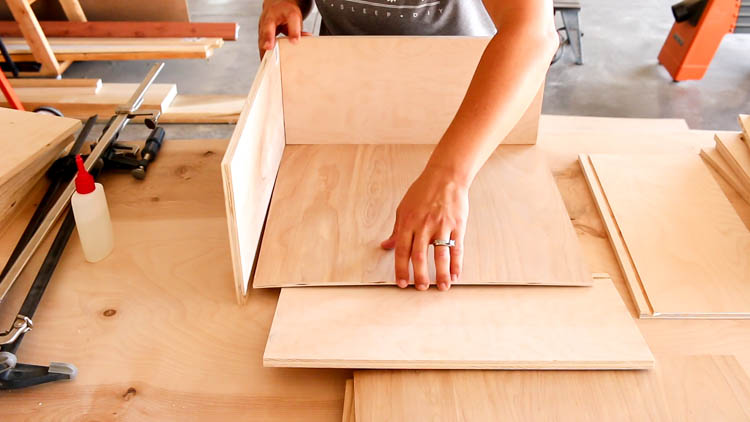
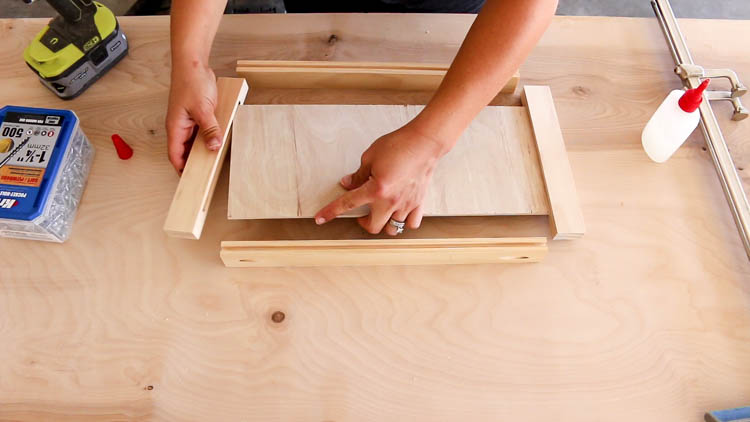
Once the dados were added, I assembled the drawer boxes, gluing the dado groove as well as the ends of the inset pieces. I clamped the boxes together and finished assembly with 1″ pocket screws.
Next, it was time to assemble the drawer fronts. Again, I routered the frame pieces to accept the 1/4″ plywood face. I measured 1/4″ in on my router table and ran the 15 1/4″ pieces completely through the router for the dados. For the 6 1/2″ pieces, I dropped and lifted the pieces to make a shorter groove that would not reach the ends of the wood. You can see how I did this in my YouTube video.
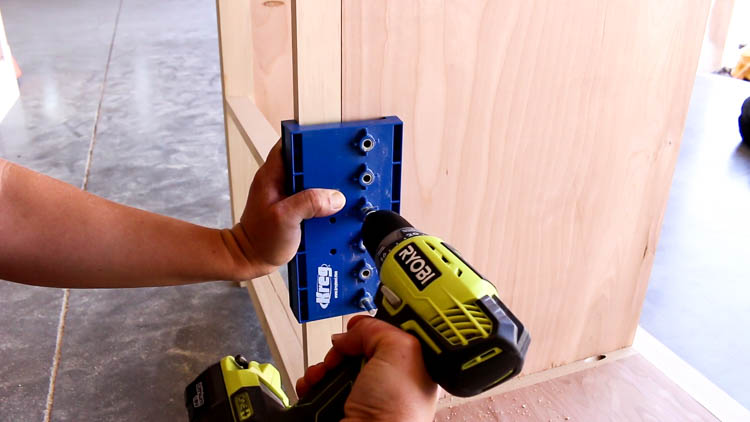
I drilled the holes for the shelf pins in the cabinet using my Kreg shelf pin jig.

The top of the dresser is 3/4″ plywood. To finish off the edges, I ironed on veneer banding. Once the glue on the veneer had cooled, I trimmed it using my band-it trimmer.
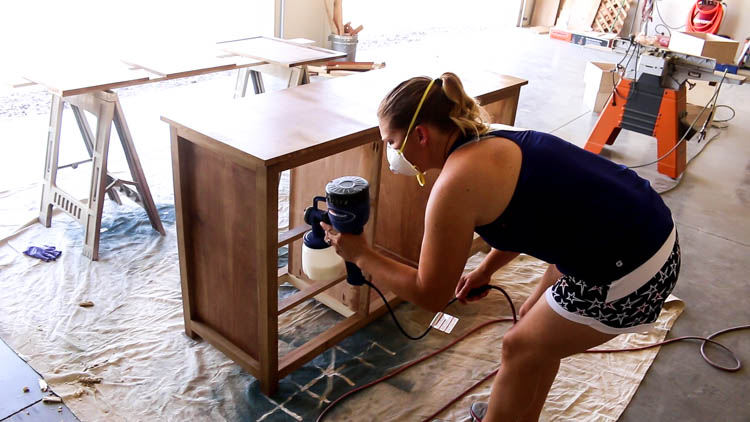
I sanded the entire dresser down with 220 grit sandpaper, followed by a coat of wood conditioner, 2 coats of Minwax stain in special walnut, then three coats of polycrylic, which I sprayed on with my Finish Max sprayer.

To install the drawer slides, I used my Rockler Universal Drawer Slide Jig. Because these drawers are inset, I needed to make sure the drawer slides also were installed in the proper position. I used a scrap piece of wood and set the drawer slide against it, then tightened down the jig. This ensured that the drawer slide would be installed 3/4″ in from the face of the dresser.
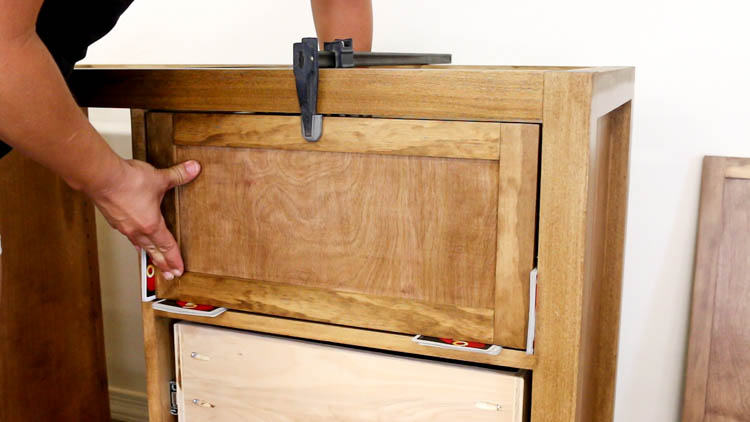
Once all of the drawers were installed, it was time to install the drawer fronts. I used even stacks of playing cards to create an equal gap all of the way around the drawer frame, then clamped it in place. From the inside of the drawer, I added 1″ screws to the corners of the drawer front.
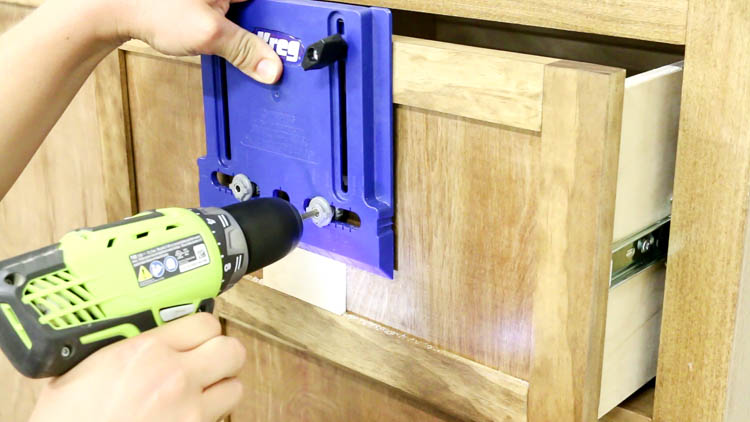
I added the cabinet hardware using my cabinet hardware jig. I chose Liberty soft iron cabinet pulls and knobs for the hardware.
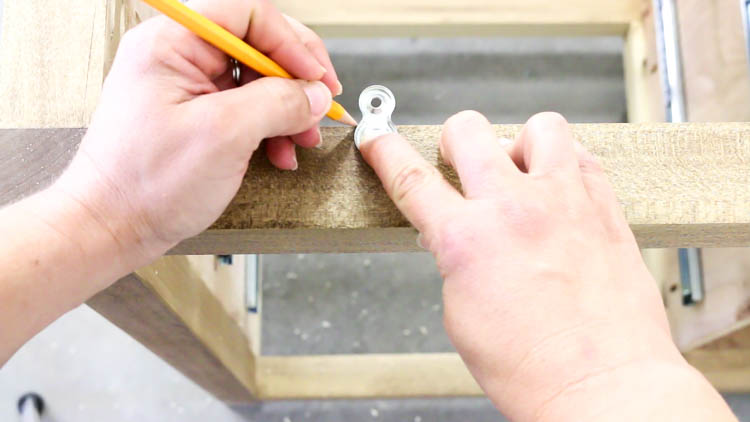
Once the cabinet hardware was installed, I installed the desktop fasteners to attach the top. I traced around the fasteners, then drilled a 1/8″ deep hole with my 3/4″ forstner bit. This allows the fasteners to sit flush with the top of the dresser frame. I set them in place with 1 1/4″ wood screws, then centered the top over the base and attached it with 5/8″ wood screws.
Once the top was attached, I added the hard board backing and secured it with 1″ narrow crown staples.
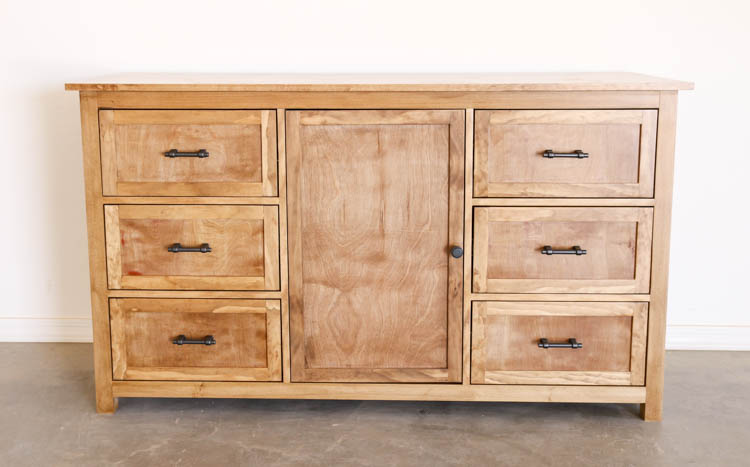
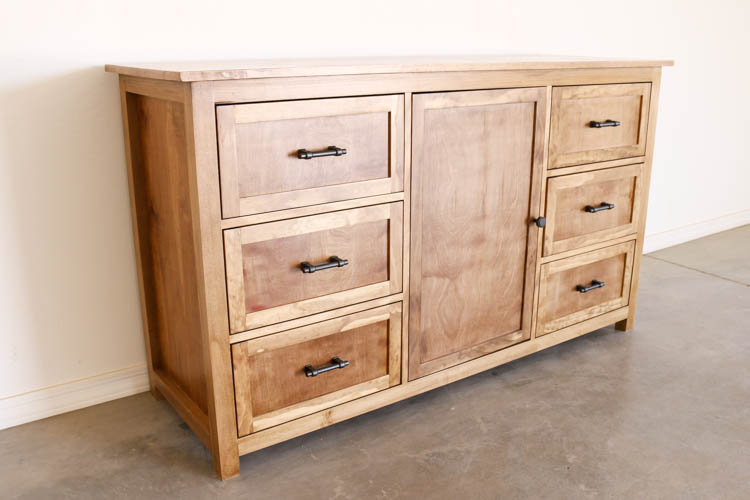
I couldn’t be happier with the end result! My son absolutely loves it and is so excited about having more room for all of his clothes. I’m excited to get rid of the dilapidated IKEA dresser he’s been using since he was a baby.
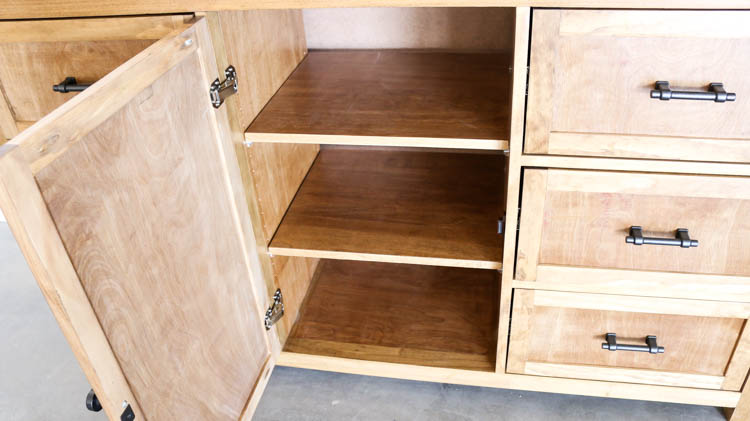
My boys wear uniforms to school, so I needed to build something that would hold not only his regular clothes, but also his school uniforms. The dresser is just over 5 feet long and has six deep drawers, plus the center cabinet has 2 shelves in it for TONS of storage. In fact, I think when he was planning where his clothes would go, we had an empty drawer or two!
Don’t forget to download the printable plans as well as check out the YouTube tutorial on how to build this dresser! I’d love to see your own versions of it, so be sure to tag me on social media or email photos and you could be featured!
DISCLOSURE: I was provided products and/or compensation for this post. All opinions and ideas are 100% my own. For more information, please read my disclosure statement.