


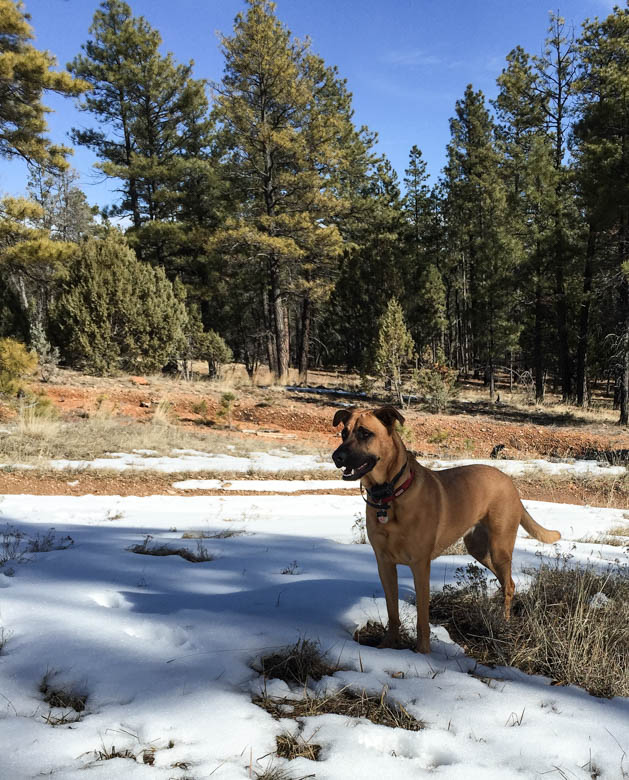
Happy Friday everyone! For those of you who don’t know, this is Dakota. She’s our sweet, loving, super spoiled furbaby. So spoiled, in fact, that we’re pretty certain she thinks she’s human. Just yesterday morning, I rolled over in bed to find her 6″ from my face, asleep on the pillow next to me. Hubby is sleeping on the other side of me in a recliner due to his shoulder surgery, so she apparently decided to take advantage of the extra bed space. For as much as I love her, she has a few quirks that drive me insane! Aside from having a 42″ vertical jump to get on the kitchen island, she also loves to spill what’s left of her water bowl everywhere. It’s her way of announcing that she’d like a refill. Such an endearing quality, right?
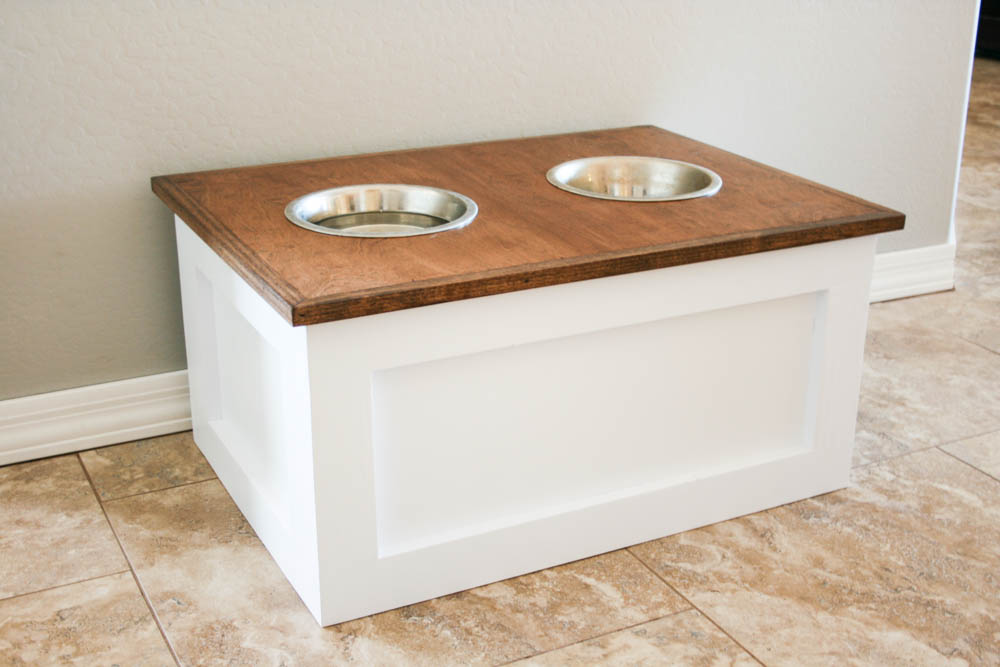 I decided it was time to build her something that would prevent these messes and also store her dog food. I sketched up some plans and came up with this DIY dog food stand with storage underneath. It keeps her water and food dishes from being tossed around, and I can store a whole bag of dog food in it. I built it to fit a 10 gallon storage tub, so this is definitely a project for big dogs. Be sure to download the printable plans for the materials and cut list.
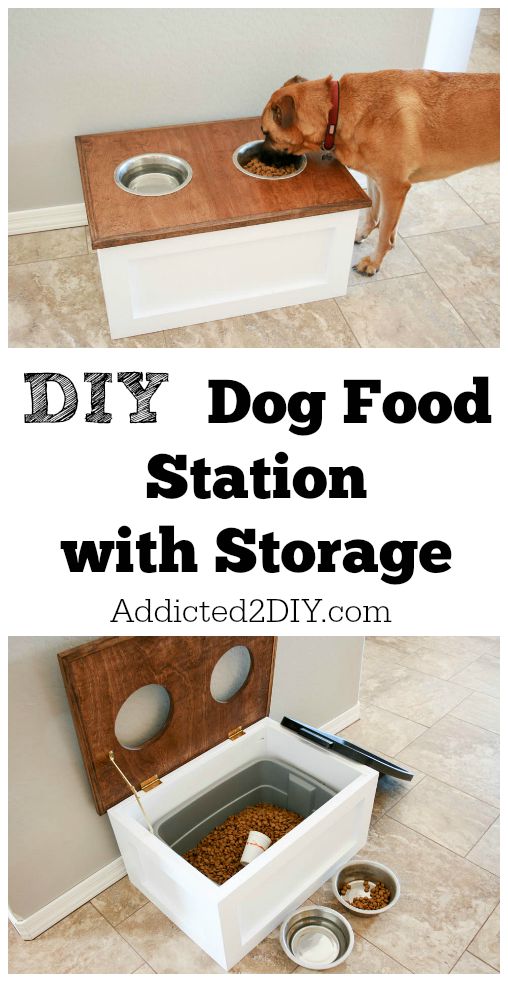
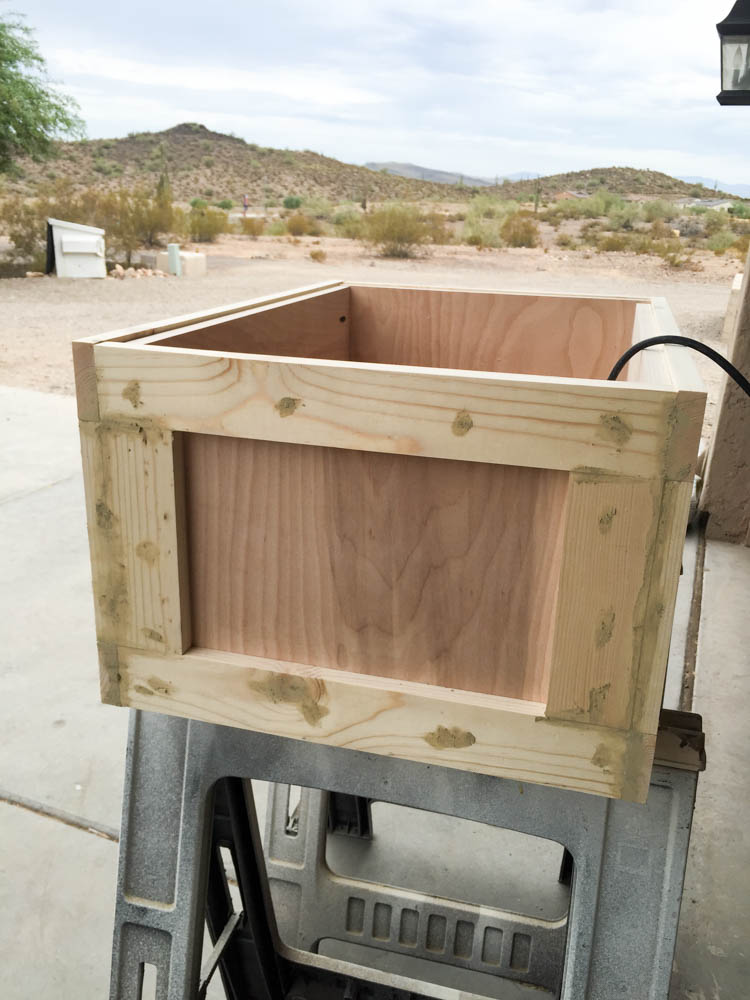
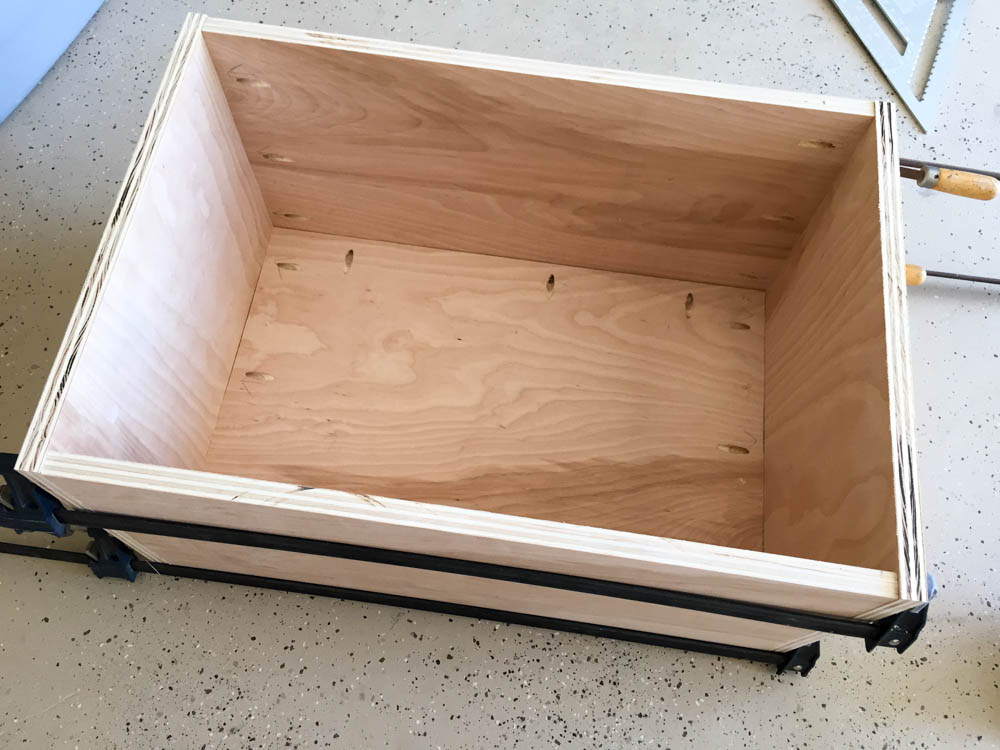 I built the box using 3/4″ plywood. It makes for a pretty sturdy box, but I build a lot of projects using 3/4″ plywood so I’ll be able to use the leftovers much faster than I would with 1/2″ plywood.
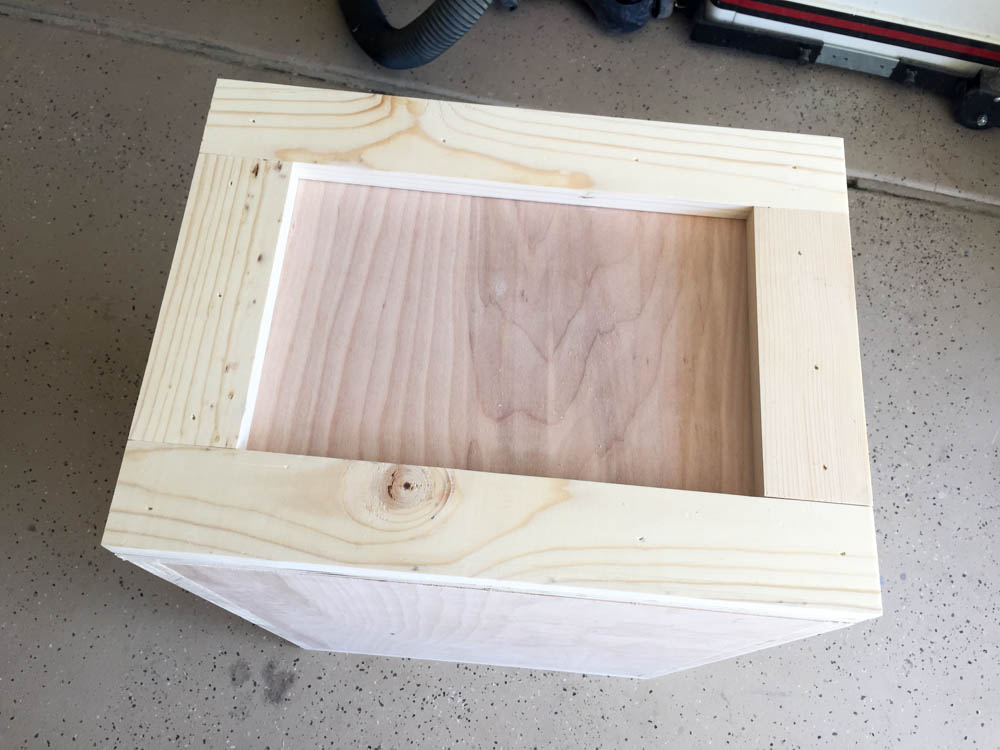
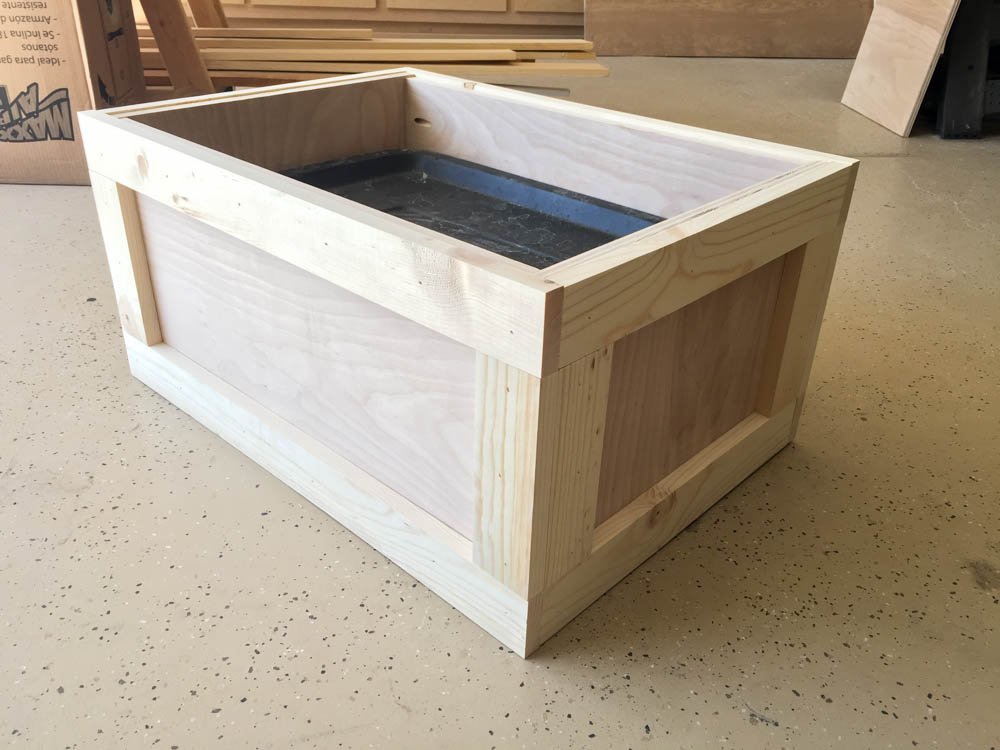 I used 1×3 pine for the trim on the box. Make sure to measure the exact dimensions of your box before you cut your pieces to ensure that all of your corners meet up without gaps. I glued and nailed the trim on using 1 1/4″ brad nails.
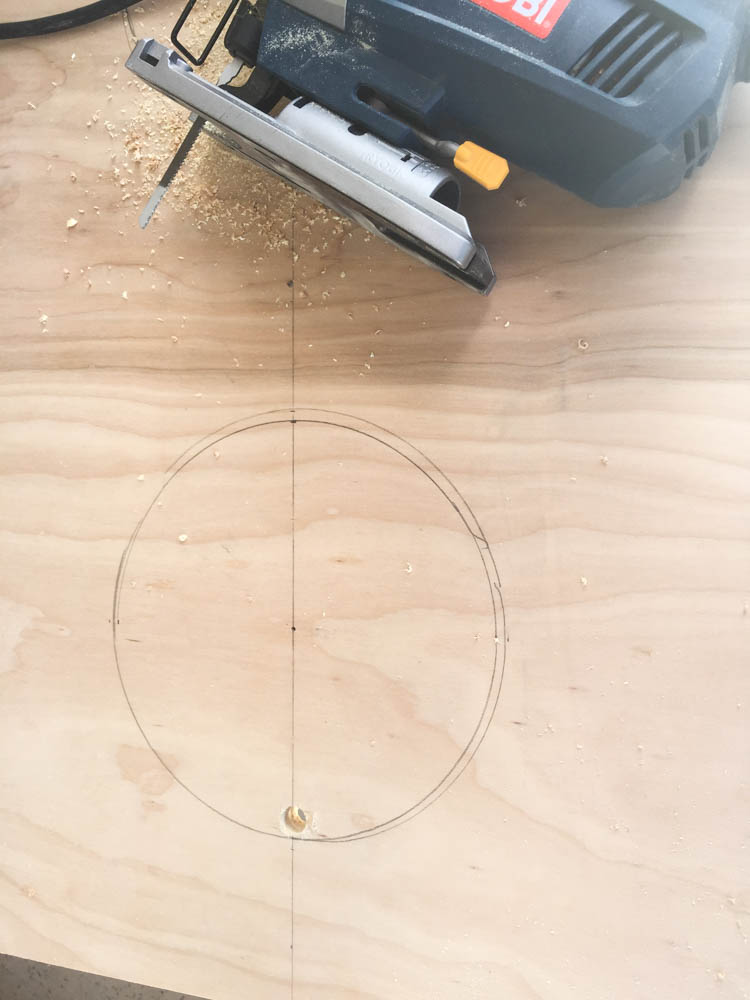
The metal dog dishes that Dakota has are about 8 1/2″ diameter at the lip, so I cut these to be around 7 3/4″ wide so the bowls would set right in. I made my circles and cut them out with a jigsaw.
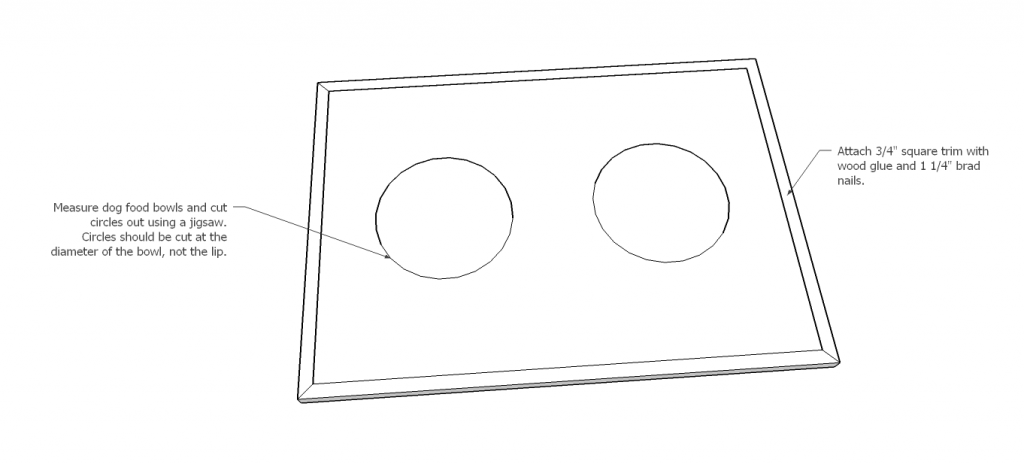 I forgot to photograph the part where I added the 3/4″ square dowel trim to the lid, so this sketch will have to make up for that. Again, measure and cut to size. Attach with wood glue and 1 1/4″ brad nails.
Once the box and lid were built, I filled all of my nail holes and any seams with wood filler, then sanded everything down.
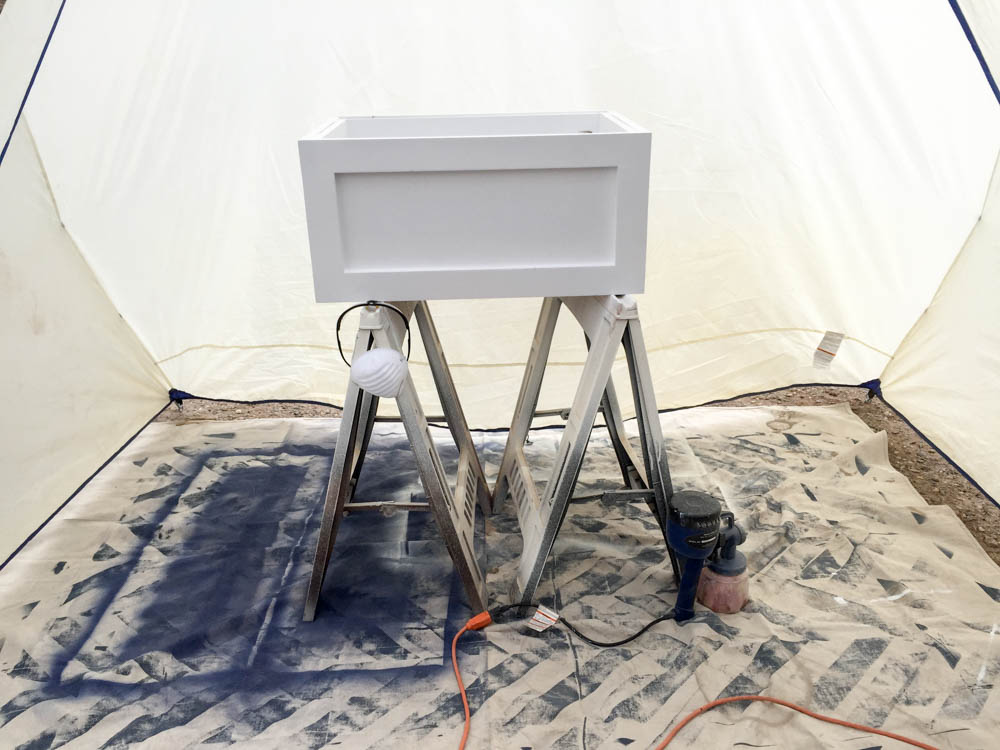 I wanted this to have a two-tone look, so I painted the box white and then stained the lid.
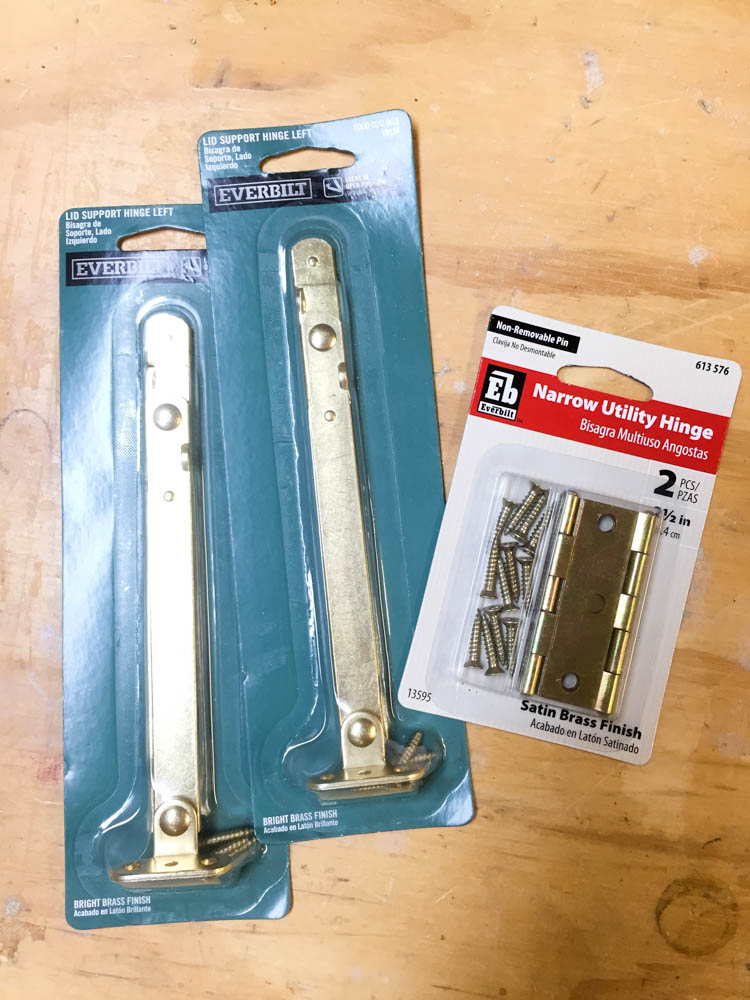
I originally wanted to buy the fancy coffee table hinges that would lift the lid up and out of the way, but at $50 it was a little expensive for a dog food stand. Instead, I bought these narrow utility hinges for the back and then the lid support hinges to keep the lid from slamming down if the kids were filling the dog bowl. I was originally going to use two of the lid support hinges, but you’ll notice that both of these hinges say “left.” Not something I paid attention to when I was standing in Home Depot.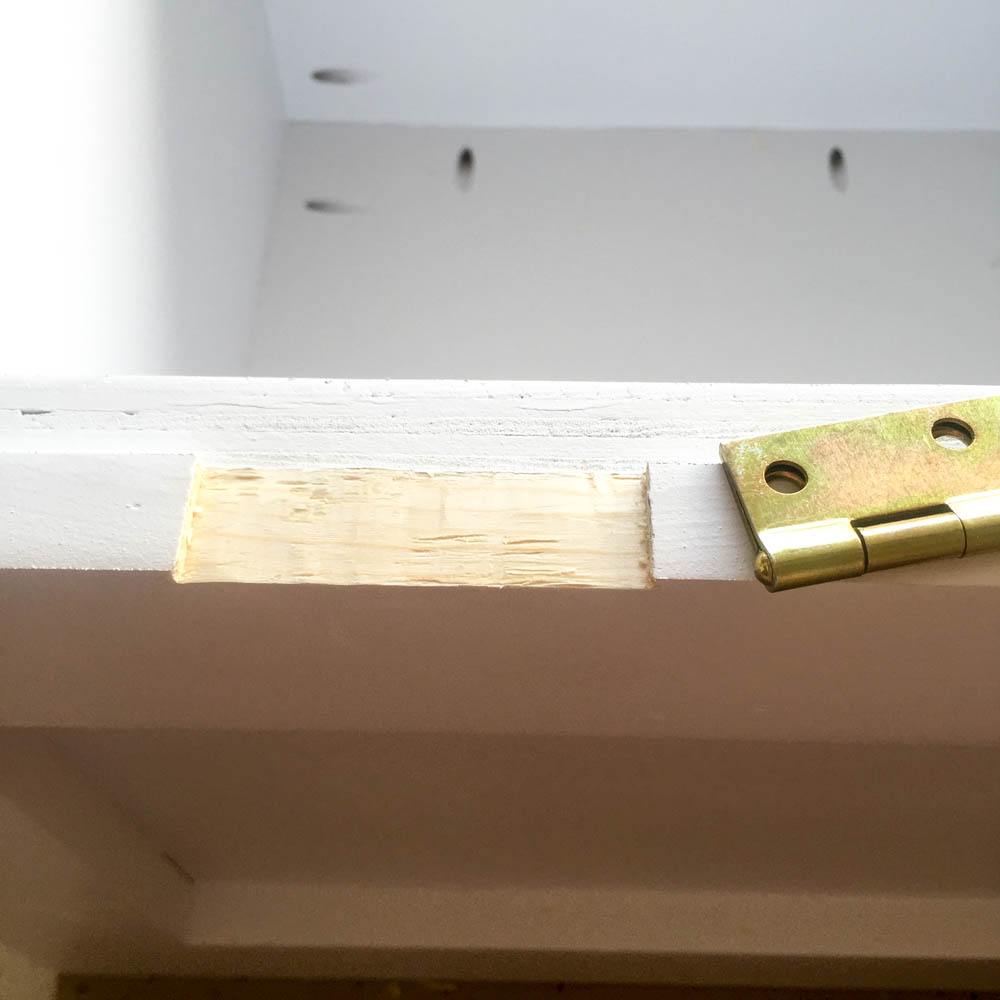 To help the lid sit flat against the box, I grabbed my 3/4″ chisel and mortised the hinges. Since I couldn’t mortise the lid, I went deep enough on the box for the whole hinge to sit flush with the rim. Don’t let this step intimidate you. It’s super easy to do on a project like this.
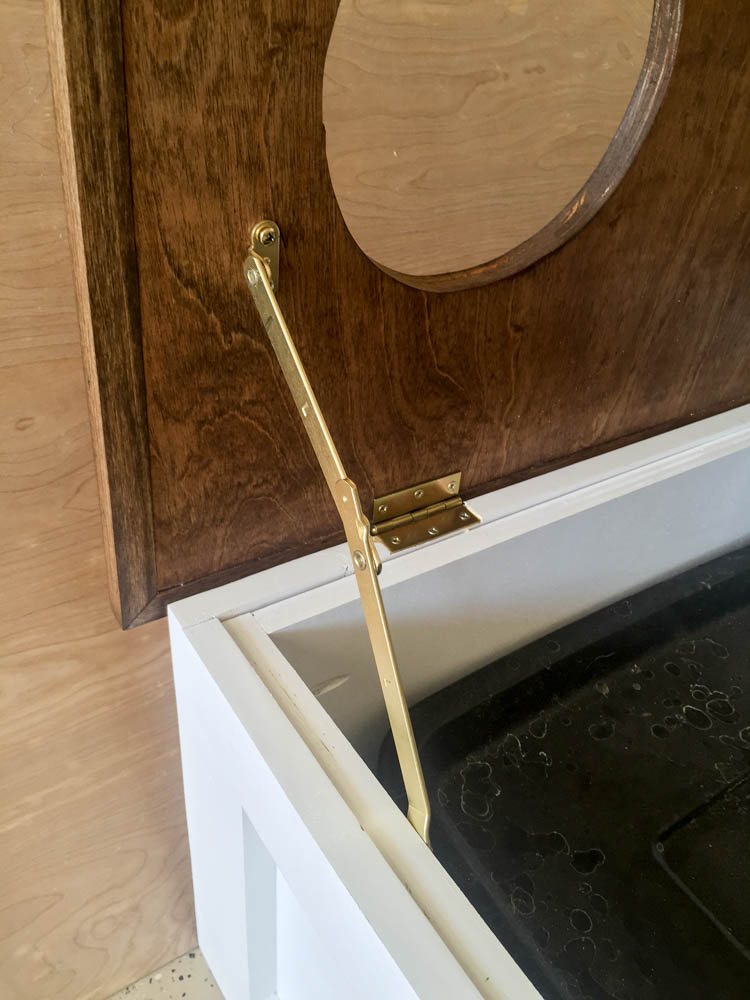
I added only one of the lid support hinges. Partly because, you know, I bought two left hinges, and also because this lid is pretty light and two would have just been overkill.
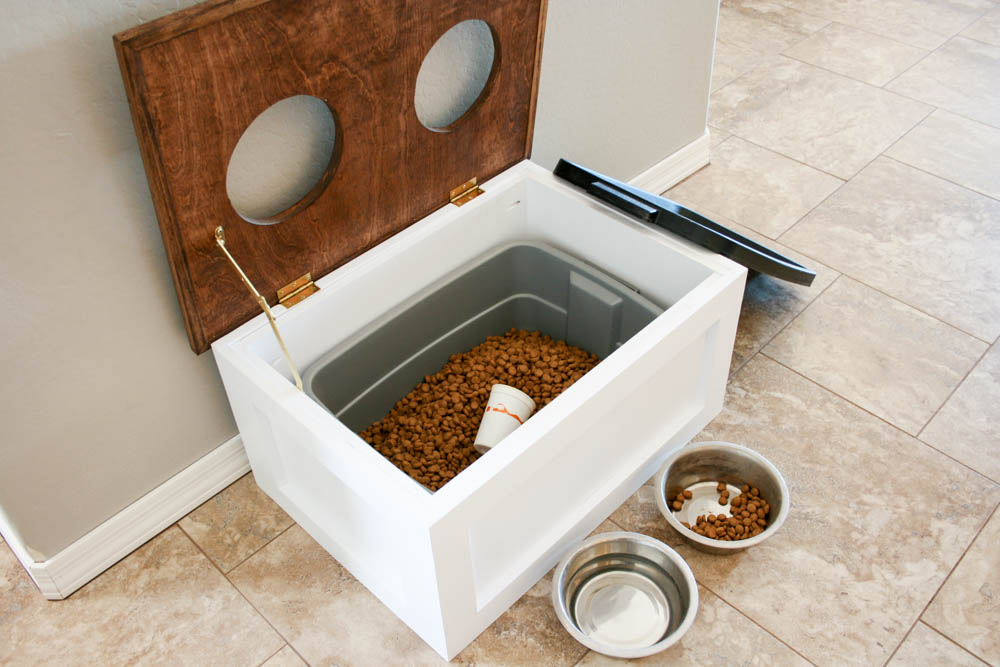
The tote fits perfectly into the box and flip open lid makes it easy to access the food when Dakota needs to be fed.
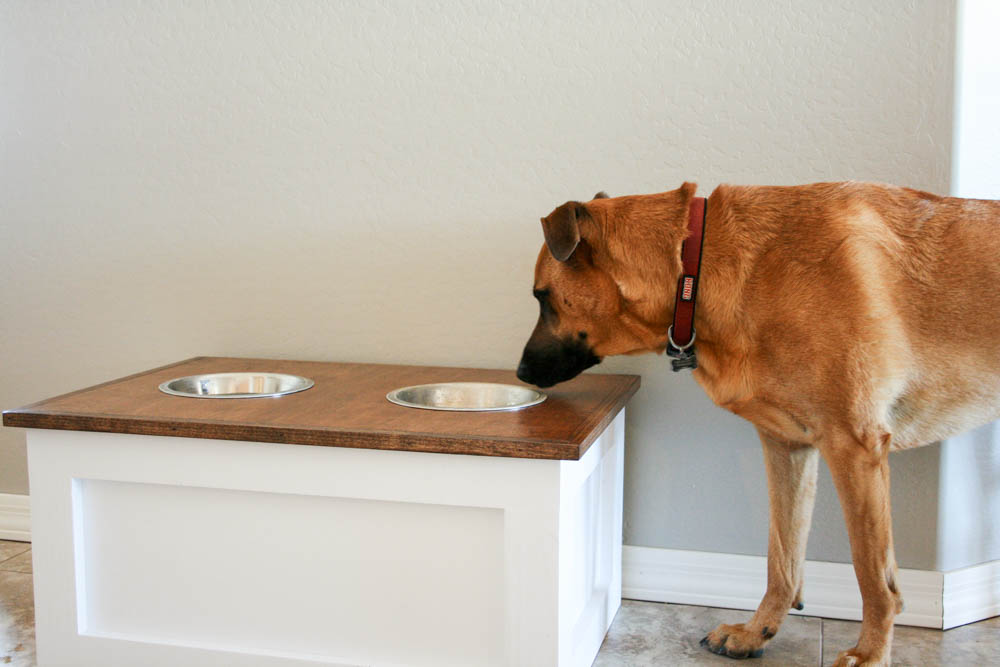
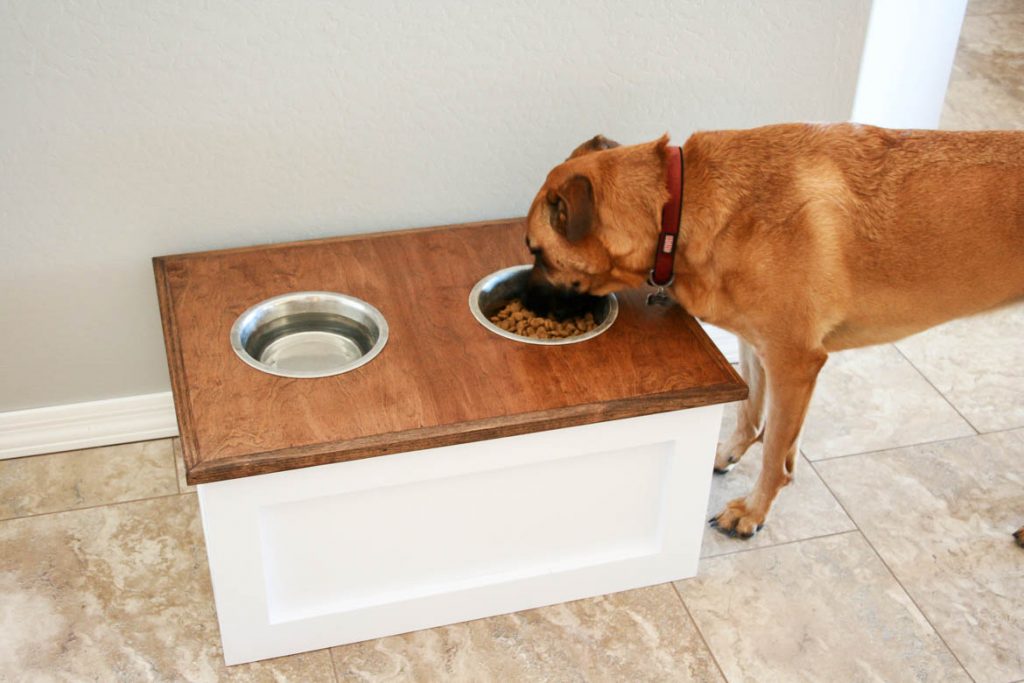
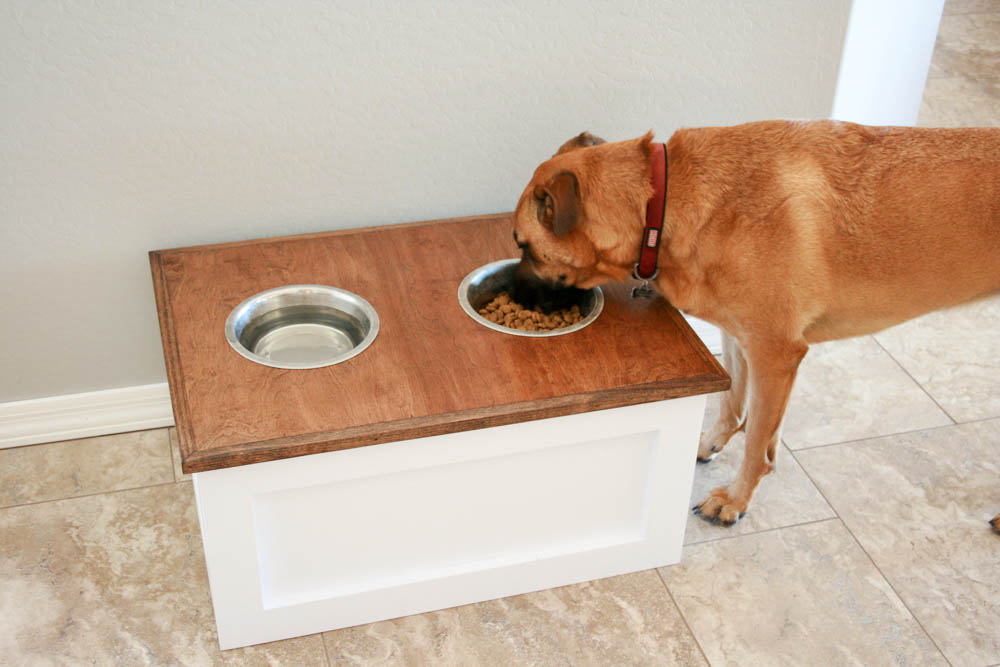 Dakota lives under this crazy pretense that everything must be for her, so she wasted no time helping herself to lunch while I was trying to take pictures of the finished dog food stand. I’ll admit that this is a pretty big size, but the height is perfect for her and she has no problem reaching her food and water. The dishes are easy to remove when they need to be filled and I love that it looks so much nicer than having her big bag of food out on display.
Again, you can download the step by step printable plans for this project so you can build your own! If you do happen to build it, I’d love for you to tag me on social media and also use the hashtag #addicted2diy. It is a huge thrill when I see my readers build one of my projects and your project could be featured on Instagram and Facebook! Happy building!