


Learn how to make this simple DIY fall centerpiece that is perfect for your fall table. This fall centerpiece only requires a few tools and can be customized any way you like and used for any season.

Do you have a favorite season? I think fall might be mine. I love all of the smells (give me pumpkin spice everything!) and the crisp mornings. While we don’t exactly have seasons here in the desert, I love to bring those seasonal colors into my decor. This DIY fall centerpiece is one of those projects that is perfect for any season, but is especially great for fall.
How To Make A Fall Centerpiece
In this tutorial, I will show you how to build a fall centerpiece with just a few tools. It’s a perfect project if you’re just learning to use tools and want to add your own DIY home decor.
For this project, you’ll need:
- 1×6 board
- 1×4 board
- wood glue
- miter saw
- 1 1/4” brad nails
- 18ga brad nail gun
- 220 grit sandpaper
- Stain or paint of your choice
Build The Box
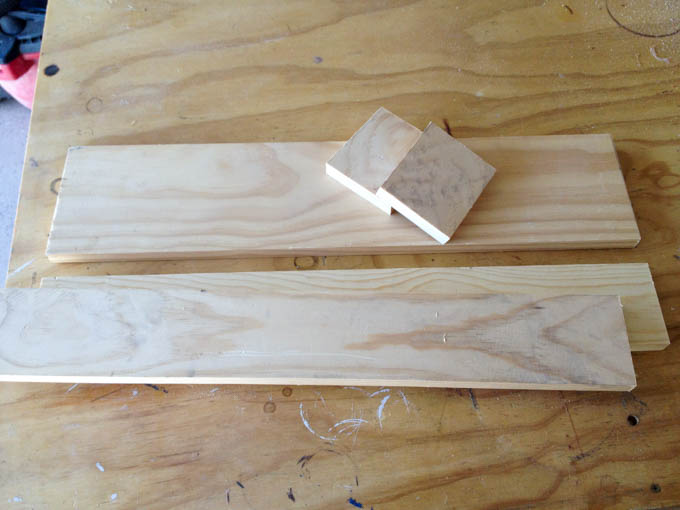
Cut a 1×6 down to 24″ long for the base. Cut two 1x4s at 24″ for the sides. For the ends, cut two 1x4s at 4″ long.
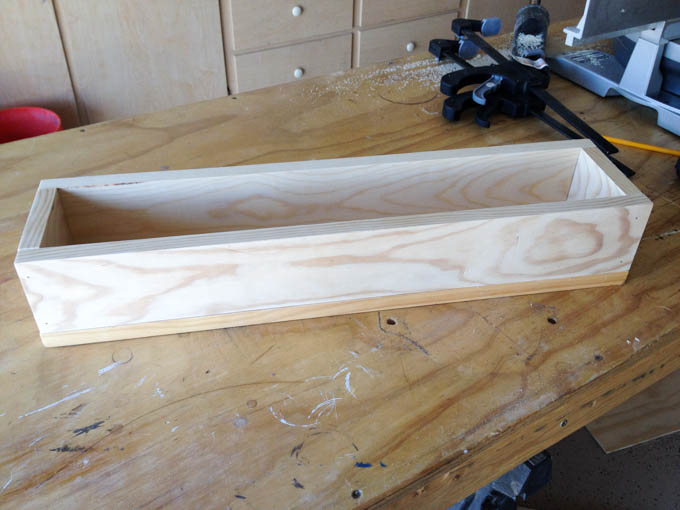
Glue and nail the pieces together with 1 1/4″ brad nails and give it a light sanding to take away any rough or splintered areas. Paint or stain the box in your favorite color. This was stained with Minwax stain in Provencial.
How To Make A Simple DIY Table Runner
 To add a little something extra to the centerpiece, make a DIY table runner. Since I stained the box the same color as the table, I knew I needed to put it on a table runner. I bought a 4’x5′ drop cloth from Lowes for around $5. I took the
 easy lazy way out and just cut a 12″ wide section across the drop cloth. This yielded a 12×48″ table runner.
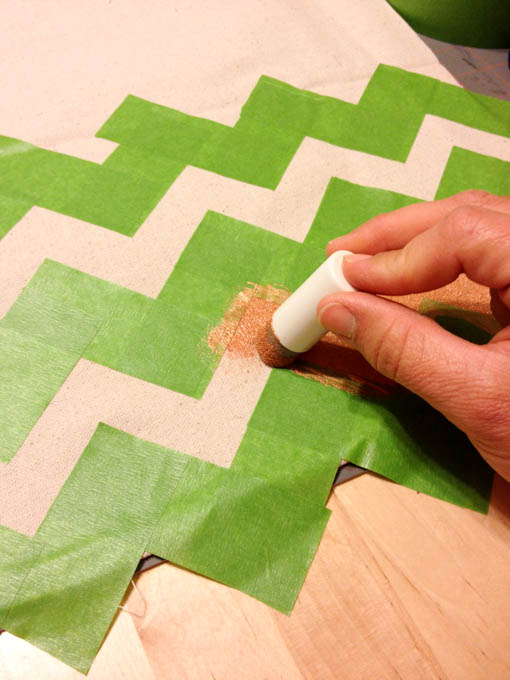
I wanted to have a chevron design, so I just made up a quick pattern with painters tape. There isn’t any specific method that I used. I just cut the tape pieces and stuck them together at 90 degree angles across the runner. Like I said, I was going for easy here. I mixed 1 part fabric medium with two parts of Martha Stewart metallic paint in copper and then dabbed it on with a sponge.
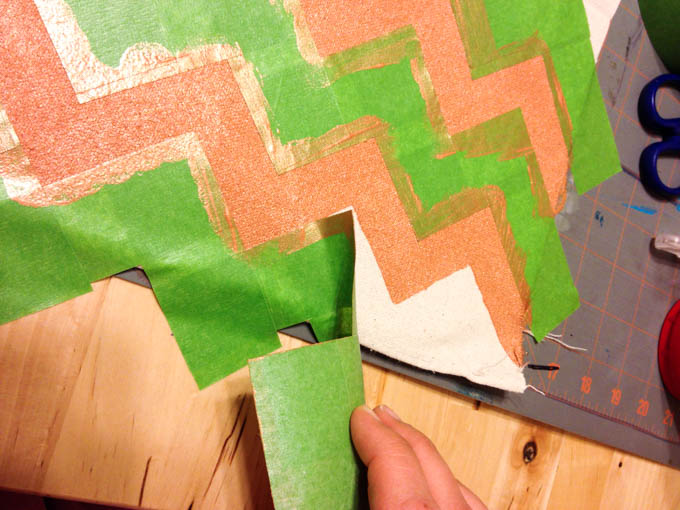
I peeled up the paper and, voila! I made sure to peel the tape up in one piece, so I could just stick it down when I painted the other side of the runner.
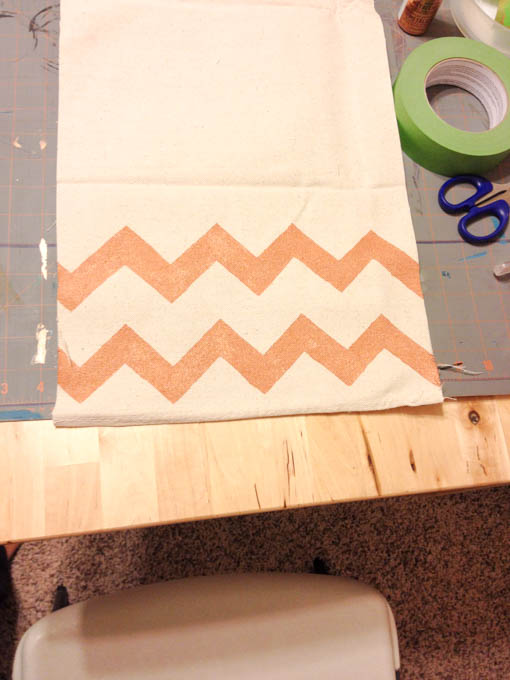
Here’s the end result!
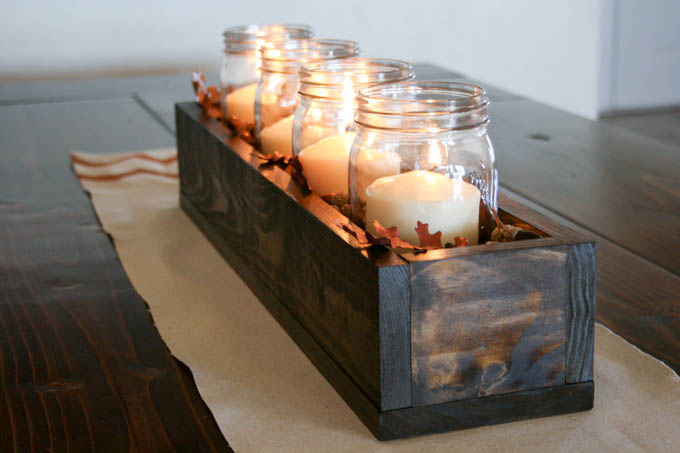
How To Style A Fall Centerpiece
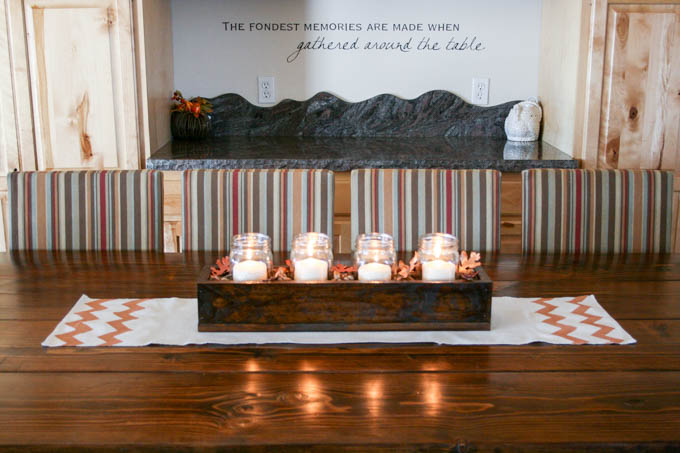
Here’s the finished centerpiece. I used quart-sized mason jars with 3″ pillar candles. The candles were a bit too tall, so I just cut an inch or so off of the bottoms of them with a chef’s knife.
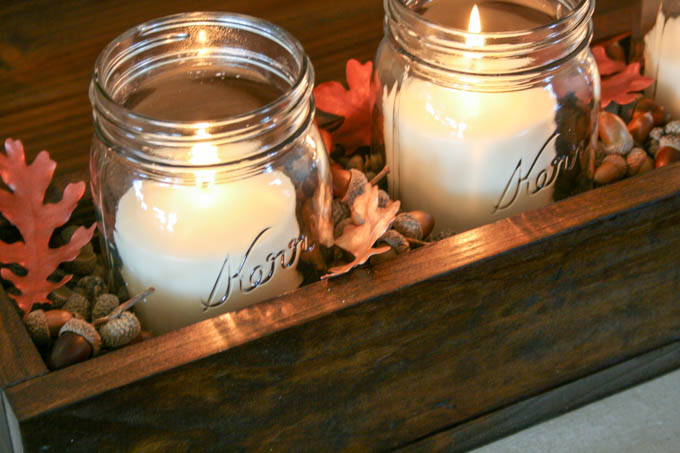
To fill in the box, you can use just about anything. Fill it with acorns, leaves, cinnamon sticks, mini pumpkins, etc. I chose to fill it with some acorns I had collected as well as oak leaves. The leaves were a beautiful gold color when I picked them, but turned a yucky brown color a few days later so I decided to paint them to give them a little bit of a metallic flair as well.

This DIY fall centerpiece is such a quick and fun project that you can customize in so many ways. Whether you love the stained look, the chippy paint look, or all natural! Throw some handles on the ends for a little something extra. Swap out the filler when the seasons/holidays change. The possibilities are endless!